Cross Stitch for Kids: A Beginner's Guide That Works
Cross stitch for kids works beautifully once you set the project up right. Here is the fabric, thread and first design I reach for with little hands.
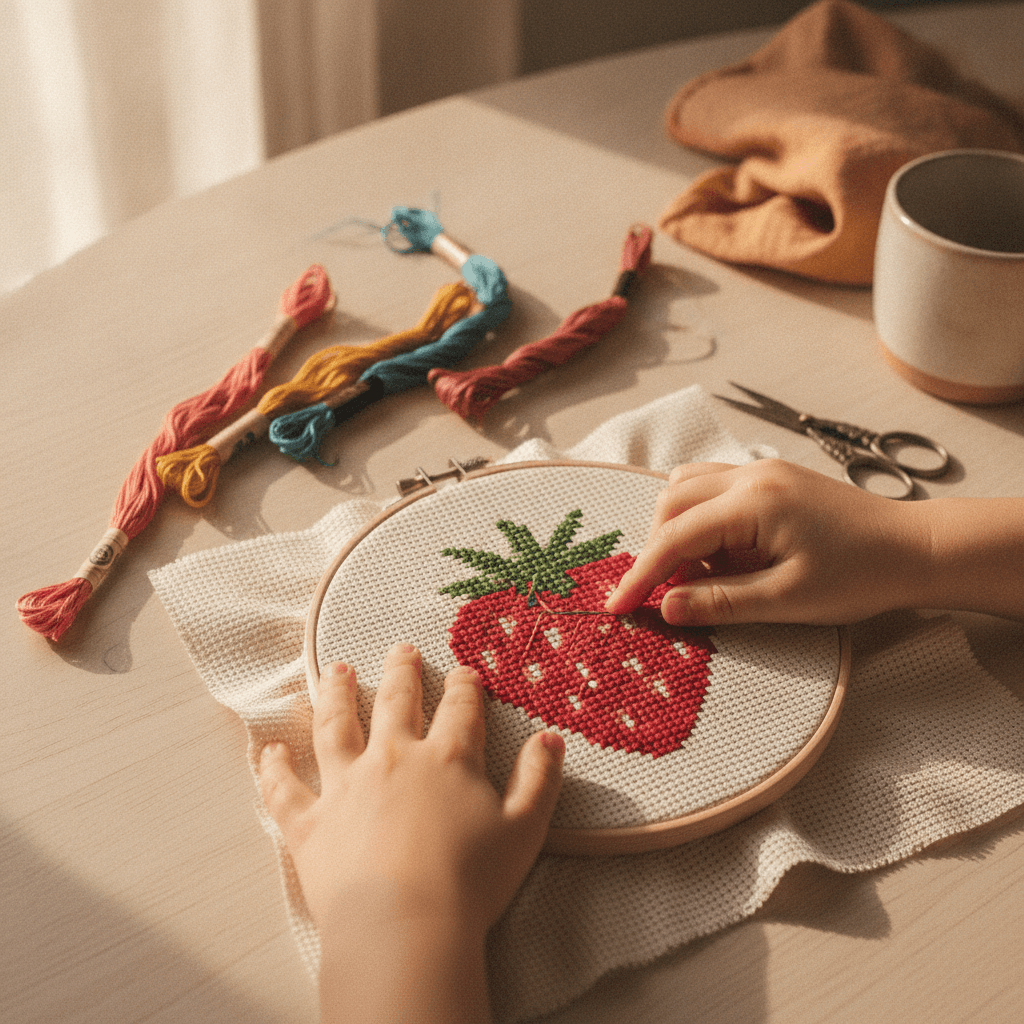
The first time I handed a needle to a seven-year-old, I braced myself for a knot the size of a walnut. What I got instead was forty minutes of quiet concentration and a slightly wonky little heart she wanted taped to the fridge before dinner. Cross stitch for kids is far more doable than most people expect, as long as you set the project up so it can actually succeed.
The trick is not patience. It is preparation. Big holes, short thread, a small design, and a grown-up nearby who is not correcting every stitch. Get those four things right and children take to it fast, often faster than adults do, because they are not yet worried about whether the back looks tidy.
August is a good moment for this. The last stretch of summer is long and slow, the weather does not always cooperate, and a project that lives in a little basket by the sofa earns its keep. Here is how I set one up.
What age can start cross stitch?
There is no strict rule, but six or seven is where most children can manage a blunt needle and follow a chart square by square. Some four and five-year-olds do beautifully with plastic canvas and chunky yarn, which is really the same skill scaled up to a size their hands can see. By nine or ten, children can usually handle 14-count Aida and a proper pattern with several colors.
Watch for two things rather than a birthday. Can they push a needle through a hole without getting annoyed? And can they sit with one thing for fifteen or twenty minutes? If both answers are yes, they are ready.
Signs to slow down
If a child is stabbing at the fabric, hauling the thread until the cloth puckers, or asking you to fix every other stitch, the fabric count is almost certainly too fine. Move to bigger holes instead of pushing through. Frustration in the first hour is the single biggest reason a kid decides stitching is not for them, and it is entirely preventable.
The supplies that make cross stitch for kids easier
You do not need much, but a few specific choices do most of the work for you.
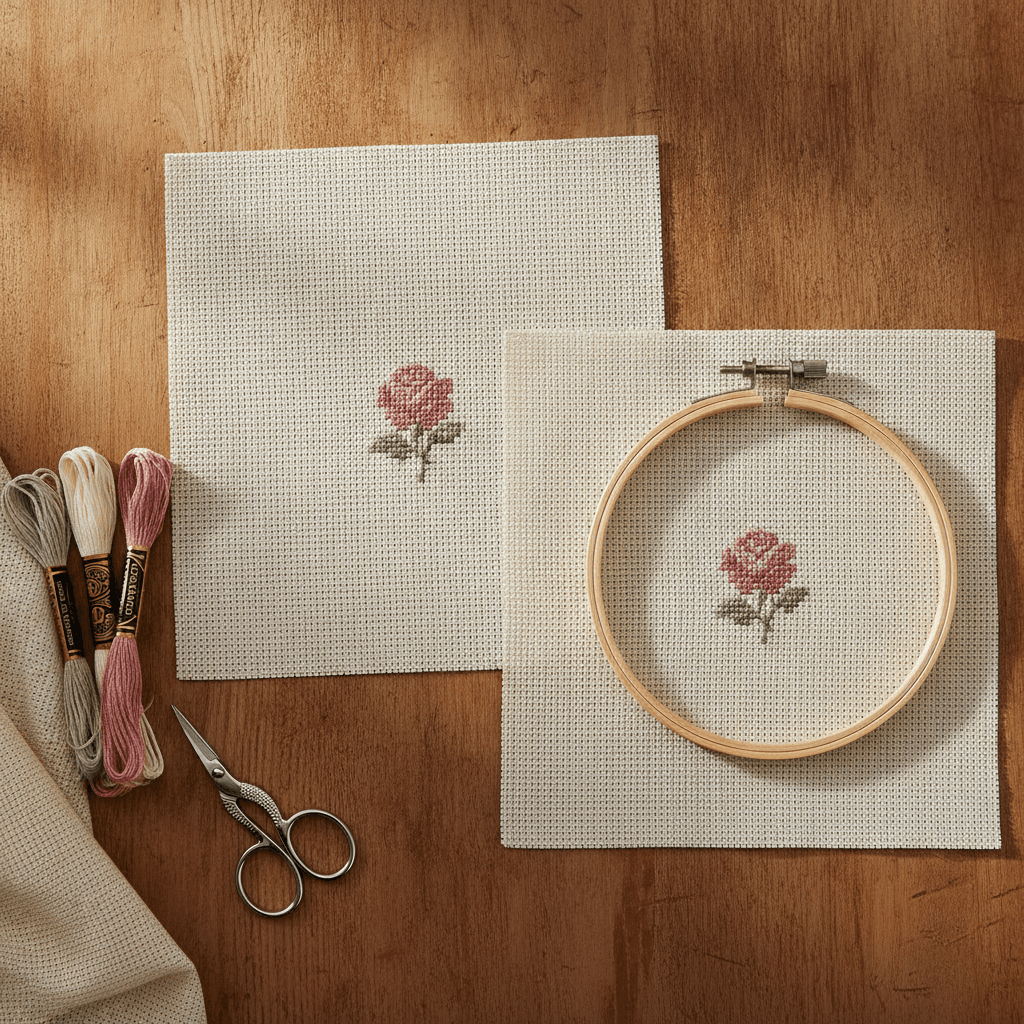
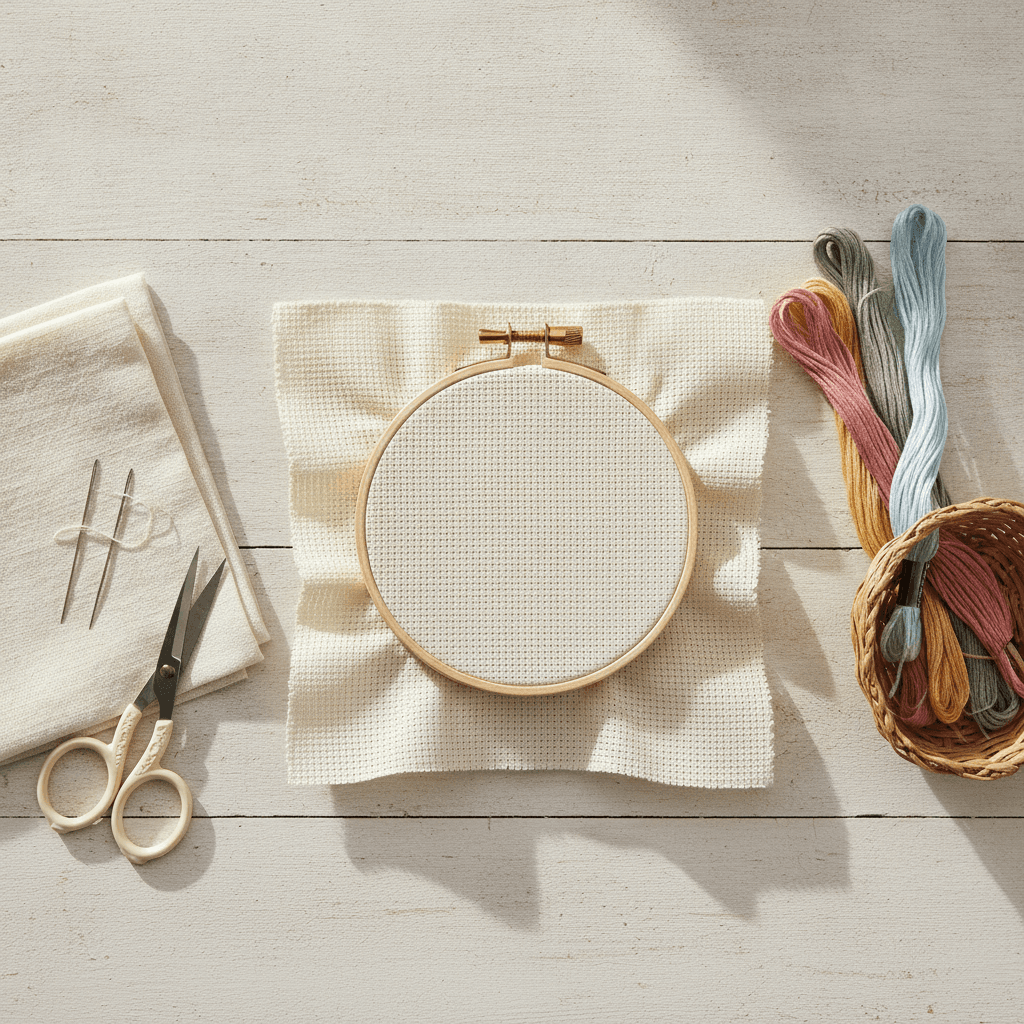
Fabric. Start with 6-count or 11-count Aida, or binca cloth if you can find it. The holes are big and obvious, so there is very little guessing about where the needle goes. Save 14-count for their second or third project.
Needle. A blunt tapestry needle, size 20 or 22. Blunt is the point. It slides through the existing holes and will not do any damage if it lands on a finger.
Thread. Standard 6-strand embroidery floss, but split it and use only two or three strands on the smaller counts. On 6-count binca, all six strands look lovely and fill the holes properly.
A hoop. A small wooden or plastic hoop, around 5 or 6 inches. It keeps the fabric taut so their stitches sit evenly, and it gives them something solid to hold.
Scissors. Small, sharp, and supervised. Blunt kids' scissors chew floss rather than cutting it, which causes its own kind of misery when they try to thread the needle.
That is genuinely the whole list. If you want to work out how much floss a design needs before you buy, the thread calculator will do the math for you.
Choosing a first pattern
This is where most first projects go wrong. Adults pick something charming and detailed, and the child gets three hours into a design that needed thirty minutes of their attention span.
Keep the stitch count low
Aim for something under about 400 stitches for a first go. On 6-count fabric that is still a decently sized finished piece, big enough to feel like a real object. Two or three colors is plenty. Blocky shapes work far better than shaded ones: a strawberry, a rainbow, a star, a cat face, an initial.
Avoid anything with backstitch outlines or fractional stitches for now. Those are lovely techniques and they can come later, once the basic X is automatic.
Let them pick it
A design a child chose themselves gets finished. A design you chose for them gets abandoned on the coffee table. Pull up three or four options you are happy with and let them make the final call, so the choice is real but the difficulty is still controlled. There are plenty of simple, cheerful designs to browse in the shop if you want a starting point.
“The goal of a first project is not a beautiful finished piece. It is a child who wants to start a second one.”
Setting up so it goes well
Cut the floss short. About the length of their forearm, no more. Long thread tangles, and tangles are what end sessions early. Thread the needle for them at first, or use a needle threader, and knot the end even though the purist in you objects. Neat starts can wait.
Mark the center of the fabric with a folded crease or a washable pen dot, and start there rather than in a corner. Starting in the middle means a mistake in counting shifts the design a little instead of running it off the edge of the cloth.
Show them one stitch at a time. Bottom left up, top right down, bottom right up, top left down. Say it out loud with them for the first few and then stop narrating. Children learn the rhythm through their hands quickly, and a running commentary just makes them self-conscious.
The tangle problem
Floss twists as it is worked, and eventually it kinks up on itself. Every so often, let the needle dangle down from the fabric and the thread will unwind itself. Teach them this early and it becomes a small satisfying ritual instead of a crisis.
Stitching alongside them, not over them
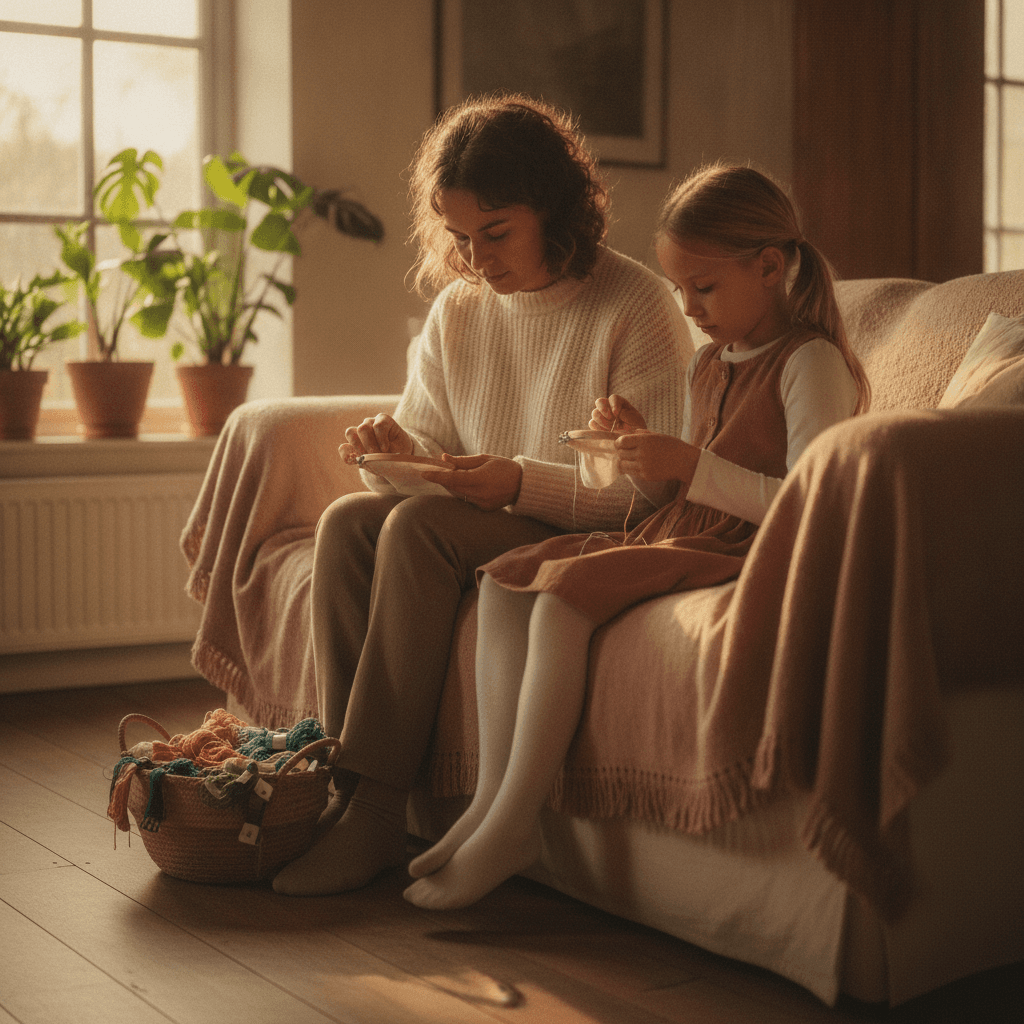
Sit with your own piece. This matters more than any technique tip. Children mirror what they see, and a parent quietly stitching sends a much stronger signal than a parent hovering and inspecting.
Resist fixing things. A stitch crossed the wrong way, a color used in the wrong square, a slightly loose row: leave it. Unless they ask, or unless the mistake will genuinely derail the rest of the design, let it stand. The wonky bits are the parts they will point at proudly in five years.
Keep sessions short. Twenty minutes is a good session for a young child, and stopping while they still want to carry on is much better than stopping when they are done with it. Put everything in a small basket or tin that is theirs, and leave it somewhere visible.
What to do with the finished piece
Finish it properly, and quickly. A completed square of Aida left in a drawer teaches the wrong lesson. Trim it, back it with felt, and turn it into an ornament or a little cushion. Or press it and put it in a cheap 4x4 frame and hang it at their eye level, not yours.
If they have made something for a grandparent, post it. The reaction that comes back is usually what turns a one-off afternoon into an actual hobby.
Then let them pick the next one. That is the whole system, really: small design, big holes, short thread, low stakes, and finished work that gets seen. Everything else they will figure out with their own two hands.