How to Backstitch in Cross Stitch for Clean, Crisp Outlines
Backstitch is the line work that makes a cross stitch look finished. Here is how to do it step by step, how many strands to use, which dark color to pick instead of plain black, and how to keep lines straight.
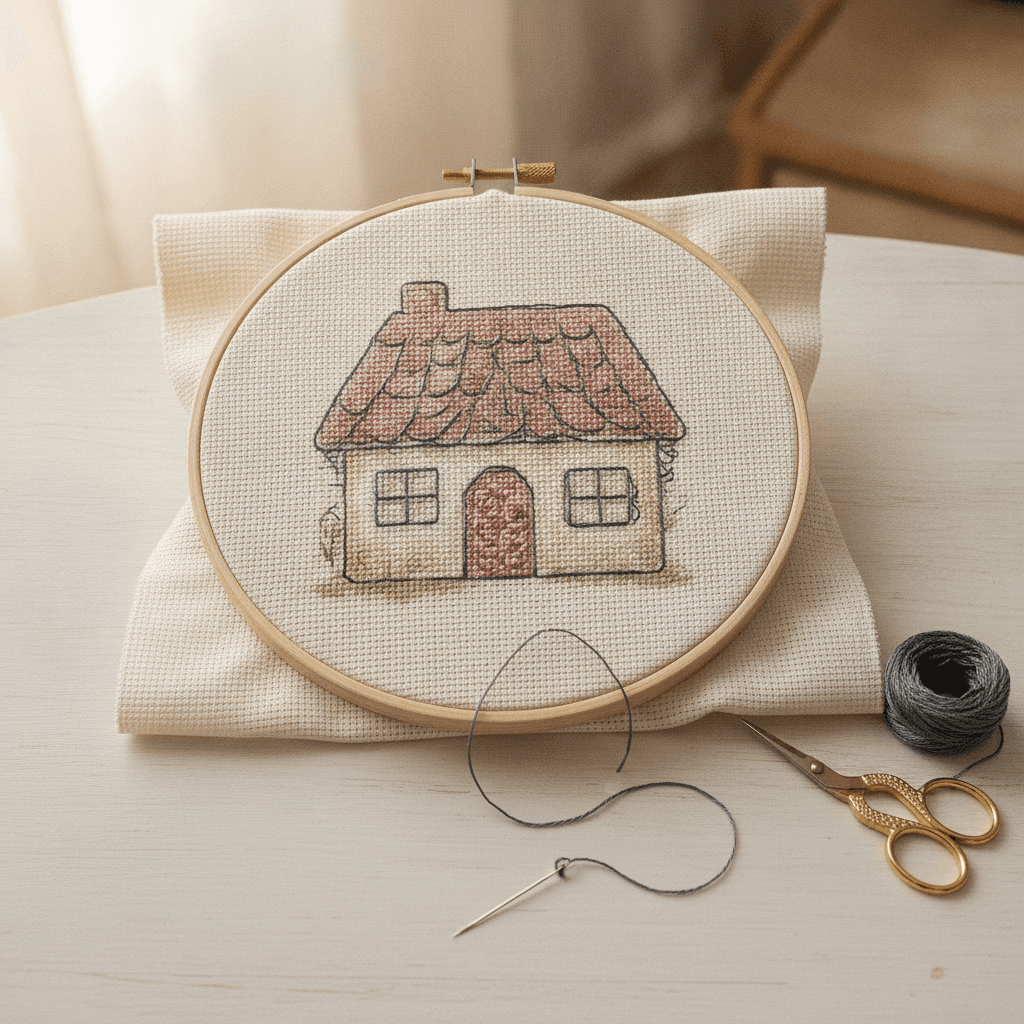
You finish the last cross, step back, and the piece looks a little soft. The colors are all there, but the edges blur into each other and the little cottage windows have no shape. That is what backstitch fixes.
Learning how to backstitch in cross stitch takes about ten minutes, and it changes how every finished piece looks. It is a simple straight line stitch that runs along the edges of the squares instead of across them, and it adds outlines, lettering, whiskers, stems and all the fine detail a full cross is too chunky for.
What those solid lines on your chart mean
On most charts, backstitch appears as solid colored lines drawn over the grid, with a separate section in the key telling you the floss number and how many strands to use. Sometimes the line color on the chart matches the floss, sometimes it is just black and the key does the work, so always check.
The lines can follow three paths. Along the edge of a square, from one corner hole to the next. Diagonally across a square, corner to corner. Or, less often, into the center of a square, which means piercing the aida between holes.
Do it last. Some stitchers backstitch as they go, section by section, and I understand the appeal because you see the picture come alive sooner. But backstitch laid down early gets buried when the neighboring crosses go in next to it, and you end up stitching over your own lines. Finish every full cross, then outline.
How to backstitch in cross stitch, one stitch at a time
Thread your needle with the number of strands the key asks for and secure the tail on the back by running it under four or five existing crosses. No knots, ever, since they make lumps that show through once the piece is framed.
Now picture the line on the chart as a row of holes numbered 1, 2, 3, 4. Bring your needle up at hole 2. Go down at hole 1, which is one square behind where you came up. Come up again at hole 3, then go back down at hole 2, into the same hole you used before.
That is the whole stitch. Up one ahead, down one behind, and repeat, so every stitch shares a hole with the one before it and the line on the front reads as one unbroken thread, while the back shows a longer, overlapping stitch.
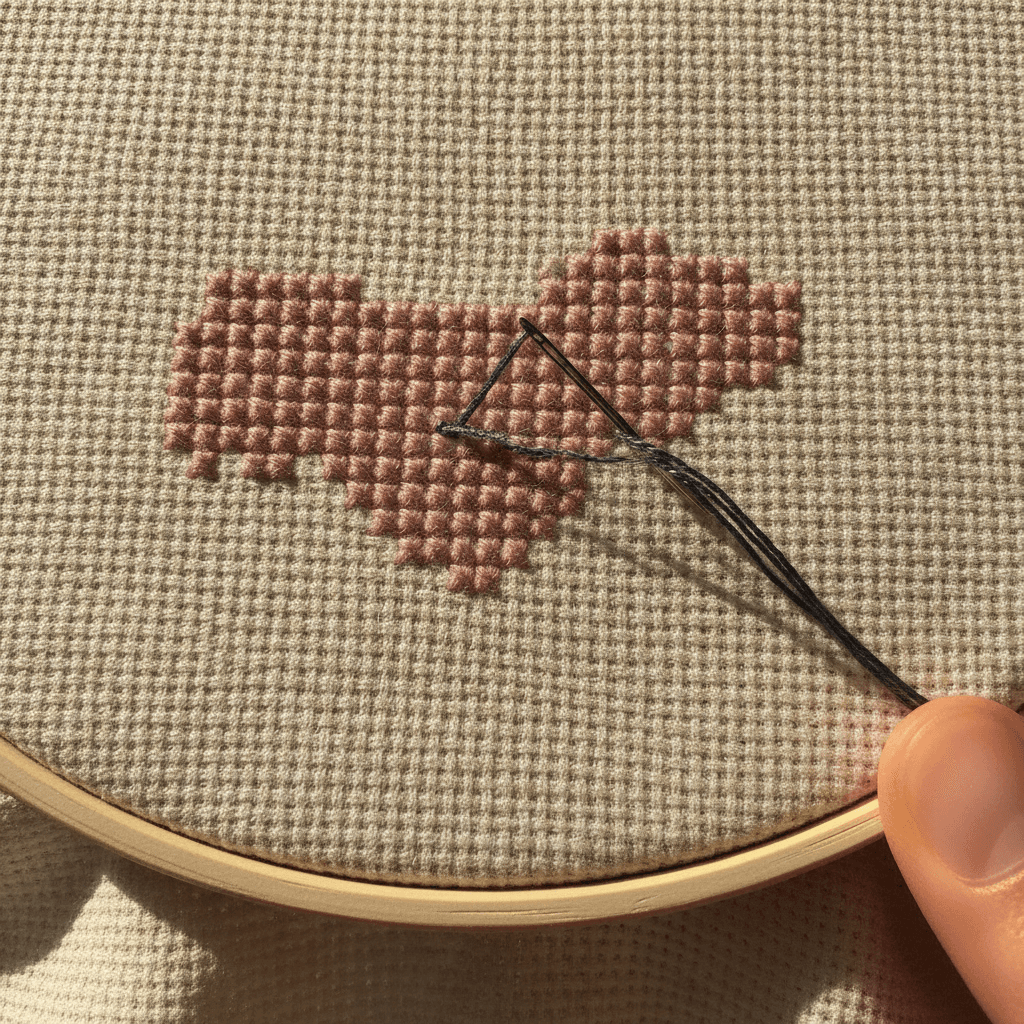
Long lines and diagonals
A straight line along the grid can technically be done with longer stitches covering two squares each, and on a stretch of five or six squares that is fine. Go much longer than two squares, though, and the stitch will catch on things, sag over time, and refuse to sit in a clean line.
Diagonals work exactly the same way, from corner to corner of each square. They look slightly lighter than straight lines because the stitch is longer, so if a diagonal edge looks thin next to the straight ones, that is not you. It is geometry.
Corners and tight curves
Small curves, like the round top of a flower or a cat's ear, are built from short straight and diagonal stitches. Follow the chart square by square and resist the urge to smooth it out freehand. It looks jagged up close and round from a foot away, which is the distance everyone else will see it from.
One strand or two, and which color
For most fine detail, one strand is the right choice on 14-count aida and on anything finer. Two strands give a bold, graphic outline that suits simple shapes, lettering meant to be read from across a room, and 11-count fabric, where one strand can look a little lost.
Now the opinion: stop outlining everything in DMC 310. Pure black is so much darker than anything else in a typical palette that it turns a soft piece into a coloring book. DMC 3799 (very dark pewter gray) or DMC 3371 (black brown) gives you the same crisp edge without the harsh contrast. I keep 310 for eyes and a few deliberate dark accents.
I learned this the slow way. I outlined an entire stitched cottage, roof, windows and fence, in 310 one winter, hated it the moment I put it in the hoop to admire, and spent the next evening picking it all out to redo in 3799.
You will find both colors side by side in our DMC color chart if you want to compare them before buying.
Backstitch uses very little floss, by the way. On a piece under about 10 inches across, a single skein of your outline color is usually plenty, but the thread calculator will give you a proper estimate if the design has heavy line work or lettering.
Keep the back tidy
Backstitch is where messy backs happen. The temptation is to jump from the end of one line straight to the start of the next, carrying the thread across the back of the fabric. Over unstitched areas, that traveling thread shows through the aida, especially with dark floss on pale fabric.
The rule I follow: if the gap is more than about three squares, or crosses bare fabric, end the thread and start again. If the gap runs behind finished crosses, you can weave the thread under them on the back to get there, which keeps it hidden.
When your backstitch looks wobbly
Wobbly lines almost always come from one of three things: stitches that are too long, uneven tension, or the needle splitting the floss of a neighboring cross as it goes into the hole. A size 26 tapestry needle on 14-count helps with the last one, since its blunt tip slides into the hole instead of piercing the thread already there.
Pull each stitch just until it lies flat. Not tight.
If a line still disappears into the crosses next to it, try going up to two strands for that line only, or choose an outline shade one step darker. More fixes for uneven stitching live in our techniques and tips section.
Next time you finish the crosses on a piece, thread up one strand of 3799 and outline just one small element, a window or a leaf, before you do the rest. You will see in about five minutes why backstitch is worth the extra evening.