How to Organize Embroidery Floss So You Can Find Any Color
A tangle of skeins costs you time and money. Here is how to organize embroidery floss with bobbins or bags, why number order beats rainbow order, and how to stop buying the same color twice.
It starts with one sandwich bag of skeins. Then a second bag, then a shoebox, and one day you spend fifteen minutes digging for a pale green you are sure you own, give up, and buy it again.
Learning how to organize embroidery floss fixes that, and it does not need to be pretty or expensive. What it needs is a system where every color has one home and you can tell at a glance what you have. Here is the setup I use and the choices behind it.
I once bought DMC 3865 three separate times in a single year because it kept sinking under a pile of greens. That was the week I finally numbered my bobbins.
How to organize embroidery floss: bobbins or bags?
There are two serious options for a stash, and both work.
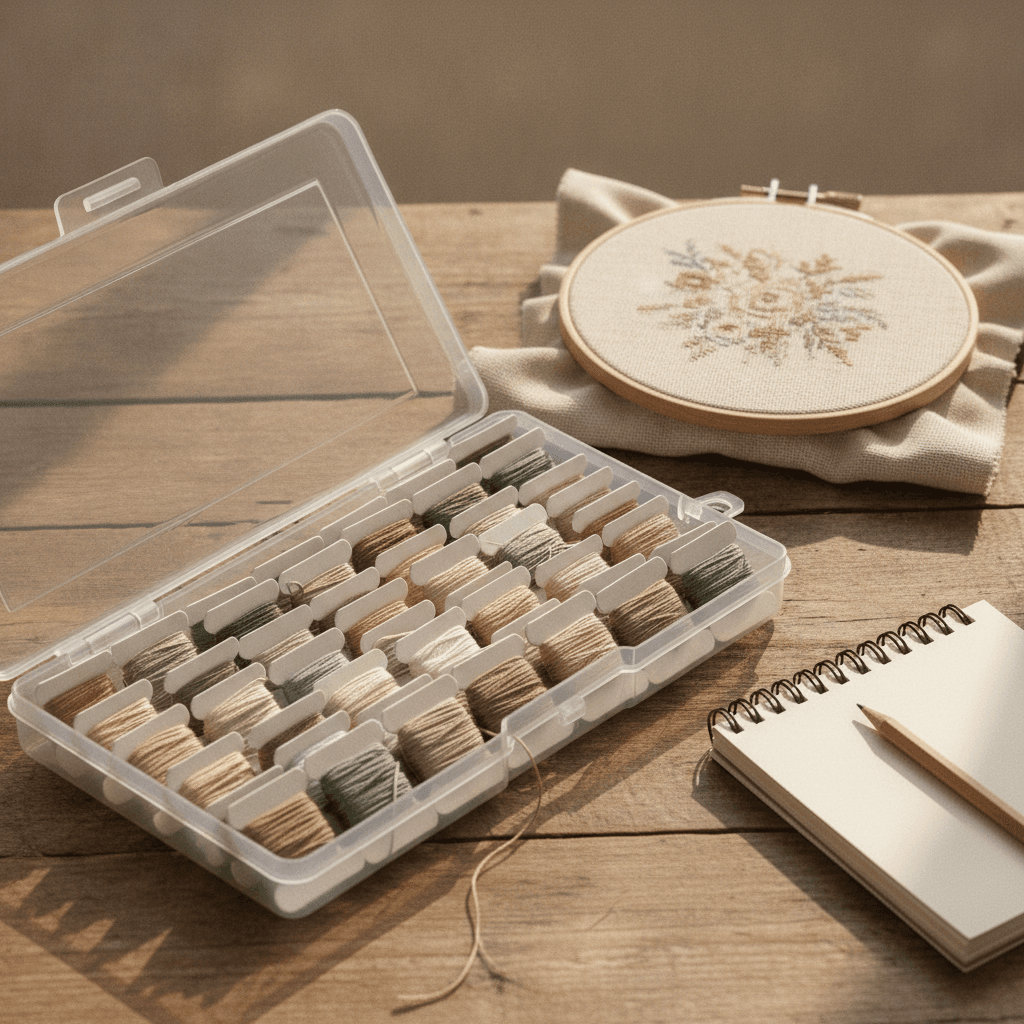
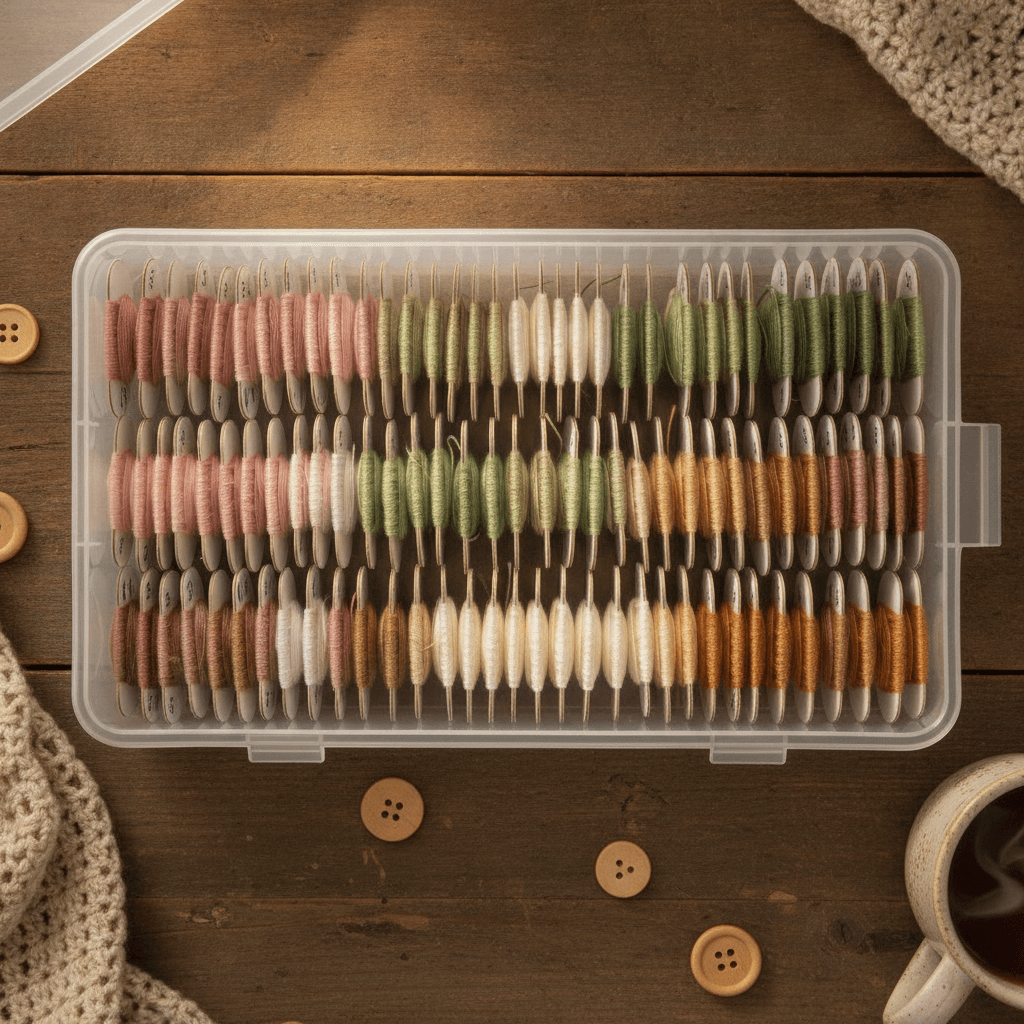
Floss bobbins are the flat cardboard or plastic cards you wind a skein onto, and they slot upright into a plastic floss box with dividers. A standard box holds roughly 100 of them. They are cheap, compact, and you can see the whole row of colors at once. Small zip bags on a ring, one skein per bag, keep the skein exactly as it came from the store, paper bands and all.
I am firmly on the bobbin side for a stash. But be honest with yourself about the downside: winding means taking off the paper band, and that band carries the dye lot number. For most projects that does not matter. For a large area of one background color, buy all the skeins you need at once and keep them in their bands until you stitch. Winding a big stash also takes time, around an evening for every 60 or 70 skeins if you do it carefully.
Winding without kinks
Pull the floss out from the end of the skein that unwinds smoothly (one end feeds cleanly, the other knots up). Wind it loosely, in long even passes, not pulled tight around the card. Tight winding leaves crimps in the floss that show in your stitches for the first few inches. Before you throw away the paper band, write the number on the bobbin in pencil, because ink can bleed onto the floss if the box ever gets damp.
Number order beats rainbow order
This is where I part ways with every beautiful photo on Pinterest.
A box sorted like a rainbow looks lovely and is miserable to use, because a chart never asks you for "the third pink from the left". It asks for DMC 3713 or DMC 761. So sort your bobbins in plain numeric order. 150 sits before 151, and 3865 sits near the back with the other 3000s. You will find any color in about five seconds, and you will see the gaps immediately when one runs out.
The tradeoff is real. DMC numbers do not follow color families, so 310 (black) sits right beside 311 (a navy blue), and browsing for "a warm dusty pink" in a numbered box is slow. When I want to browse by color, I do it on the DMC color chart instead and then go pull the numbers. The box is for finding. The chart is for choosing.
Keep a simple inventory
A list of what you own saves more money than any box. It can be a note on your phone, a spreadsheet with one row per number, or a page in a notebook you carry to the craft store. Mark each color as full, partial or out. That is enough.
Before you start a new chart, check its key against your list, then use the thread calculator to work out how many skeins each color needs. A full DMC skein is 8 meters, about 8.7 yards, which goes further than most people expect on 14-count, so you may already have enough of the partial ones.
If your stash mixes brands, say some Anchor from a kit and some DMC you bought yourself, give each brand its own section in the box. Do not interfile them. When a chart lists only DMC numbers, the thread conversion chart tells you which Anchor floss to reach for.
A separate home for the project you are stitching
Pull the colors for your current project out of the main box. Every one of them. I keep mine on a single floss ring or a small card with punched holes, each length tied on next to its number and chart symbol, and the whole thing lives in the project bag with the hoop and chart. Cut lengths of about 18 inches so they are ready to thread. When the project is done, any floss left on the ring goes back onto its bobbin in the box.
It sounds like extra work. It is the opposite, because you stop opening the big box twenty times a night.
Light, dust and the little leftovers
Keep the box out of direct sun. Floss fades, and a box on a sunny windowsill can leave the top edge of every bobbin a shade lighter than the rest within a summer. A closed drawer or a shelf away from the window is plenty.
The short leftover bits you snip off, often called orts, do not belong in the box. Put them in a little jar on your table and enjoy the colors. Saving 3-inch scraps "just in case" is how a tidy box turns back into a tangle.
Start small tonight: take the colors from your current chart, wind them, number them, and give them a box. The rest of the stash can join them one evening at a time.