How to Find the Center of Your Cross Stitch Fabric
Almost every chart asks you to start in the middle. Here is the fold and pinch method, how to mark the spot so it lasts, and what to do when the center lands between two squares.
The first stitch of a new project decides where every other stitch lands. Get it wrong and you find out much later, usually at the moment you lay a mount board over the finished piece and see the whole design sitting off to one side.
That is why almost every chart tells you to begin in the middle. Learning how to find the center of cross stitch fabric takes about thirty seconds, and it rules out the most expensive beginner mistake there is.
Here is the method I use on everything, how to mark the spot so it survives a few evenings of handling, and what to do when the center falls between two squares.
Why the middle, and not a corner
A chart is measured outward from its center, not inward from its edges. When you start in the middle and work outward, any small error in how you cut the fabric gets spread evenly all the way around the design instead of eating into one side of it. Starting from a corner means committing to a margin before you have stitched a single X, and fabric shifts in the hoop as you work, so that margin is never quite what you measured.
My first large piece was a garden sampler, 180 stitches wide and 240 tall, and I eyeballed the starting point instead of folding. It finished an inch and a half off center. I stitched the whole thing again.
The fold and pinch method
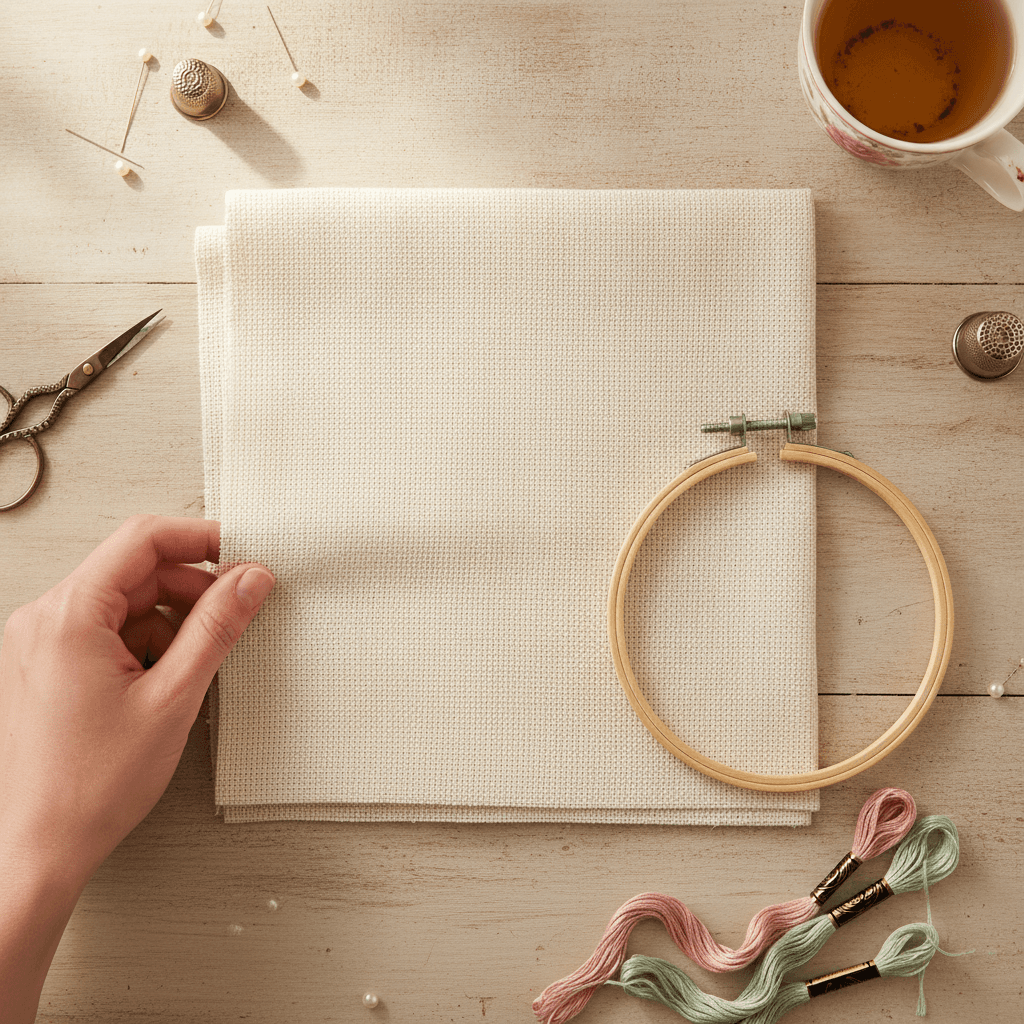
Lay the fabric flat and smooth it down with your hand. Fold it in half one way, then fold that in half the other way. You are now holding a quarter of the original rectangle, and one corner of that folded stack is the exact center of the whole piece.
Pinch that corner between finger and thumb, open the fabric back out, and keep pinching. The point you are holding is your center. On 14-count aida you can usually see the two fold lines crossing each other, and the hole where they meet is where your first stitch goes.
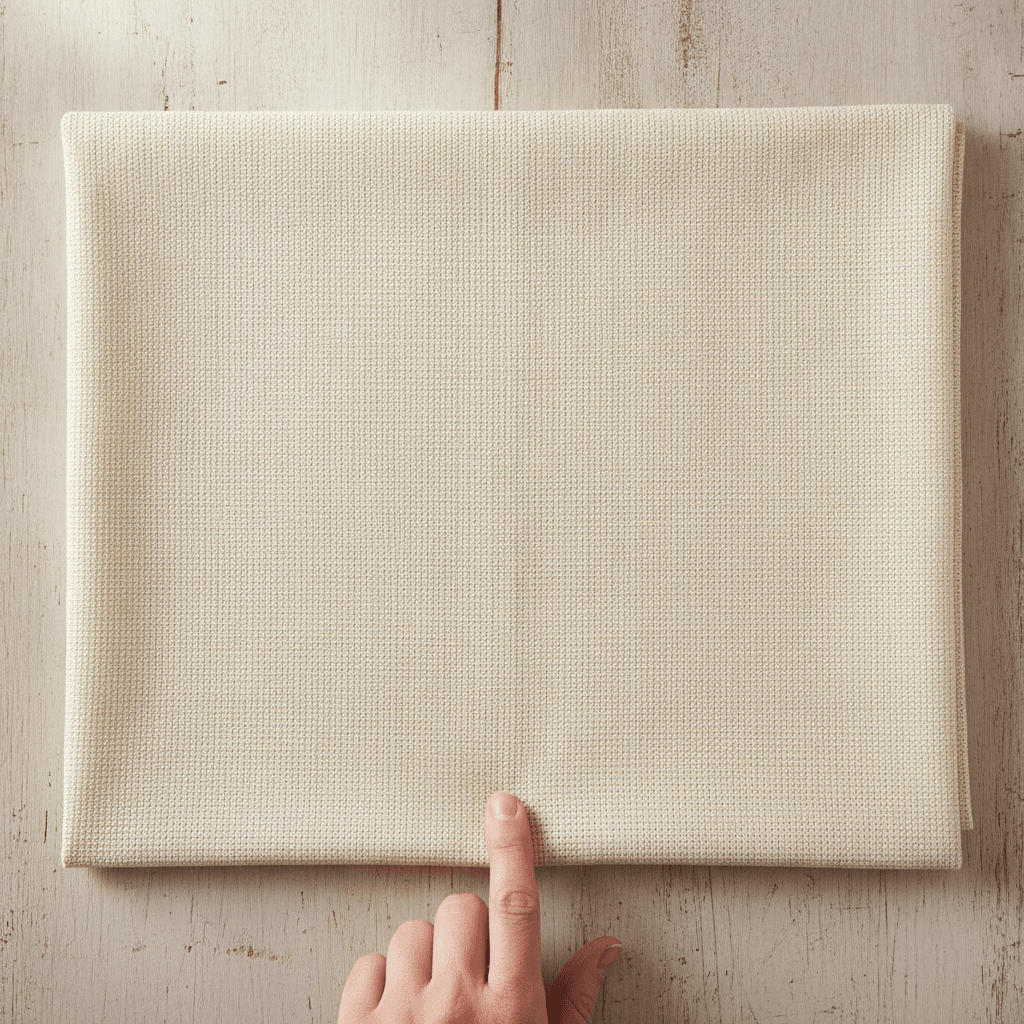
Aida holds a crease. Linen does not. If you are working on 28-count evenweave or anything soft, press the folds with a cool dry iron before you open the fabric out, or the lines will vanish while you are still looking for them.
Mark it before you lose it
Fold lines fall out of the fabric within an evening of handling, so give yourself something more permanent. A single dot from a water-soluble marker works if you plan to wash the piece anyway. I prefer a line of basting thread in plain sewing cotton, run down the center column and across the center row in a color nothing like anything in the chart. Bright orange is good, because you will never mistake it for DMC 722.
Gridding is the larger version of the same idea: basting or drawing a grid every 10 stitches across the whole fabric, so you can count in tens rather than crawling along a row. I grid anything over about 100 stitches wide and skip it on anything smaller. It costs an evening up front and it is genuinely dull work, but on a dense design it pays for itself the first time you would otherwise have miscounted a row and not noticed for two hours.
Finding the center of the chart
Most published charts mark their own center with small arrows or triangles printed on the outside edges. Follow the arrow in from the top and the arrow in from the left, and the square where those two lines cross is the chart's center square. That square matches the hole you just pinched.
If your chart has no markers, do the arithmetic. A design that is 97 stitches wide and 61 tall has its center at column 49, row 31. Write those numbers on the chart in pencil before you start, because you will want them again if you put the project down for a month.
If you stitch from a tablet, Pattern Keeper tracks your position for you and sidesteps this whole step. There is more about how the digital files work in how our patterns work.
When the center lands between two squares
Even stitch counts do not have a middle square. A 98-stitch-wide design has its center on the line between column 49 and column 50, and no amount of staring will change that.
Pick one and stay consistent. On 14-count, half a stitch is about 1/28 of an inch. Nobody will see it.
Cut generously and the center matters less
Half the panic about center points comes from fabric cut too close to the design. Give yourself 3 inches of margin on every side and small errors stop being fatal. A design that finishes 6 inches by 8 inches wants a piece of fabric at least 12 by 14, which leaves room for a hoop, room for fraying, and enough to wrap around a mount board later. If you would rather not do that math by hand each time, the fabric calculator takes the stitch count and the fabric count and gives you the cutting size.
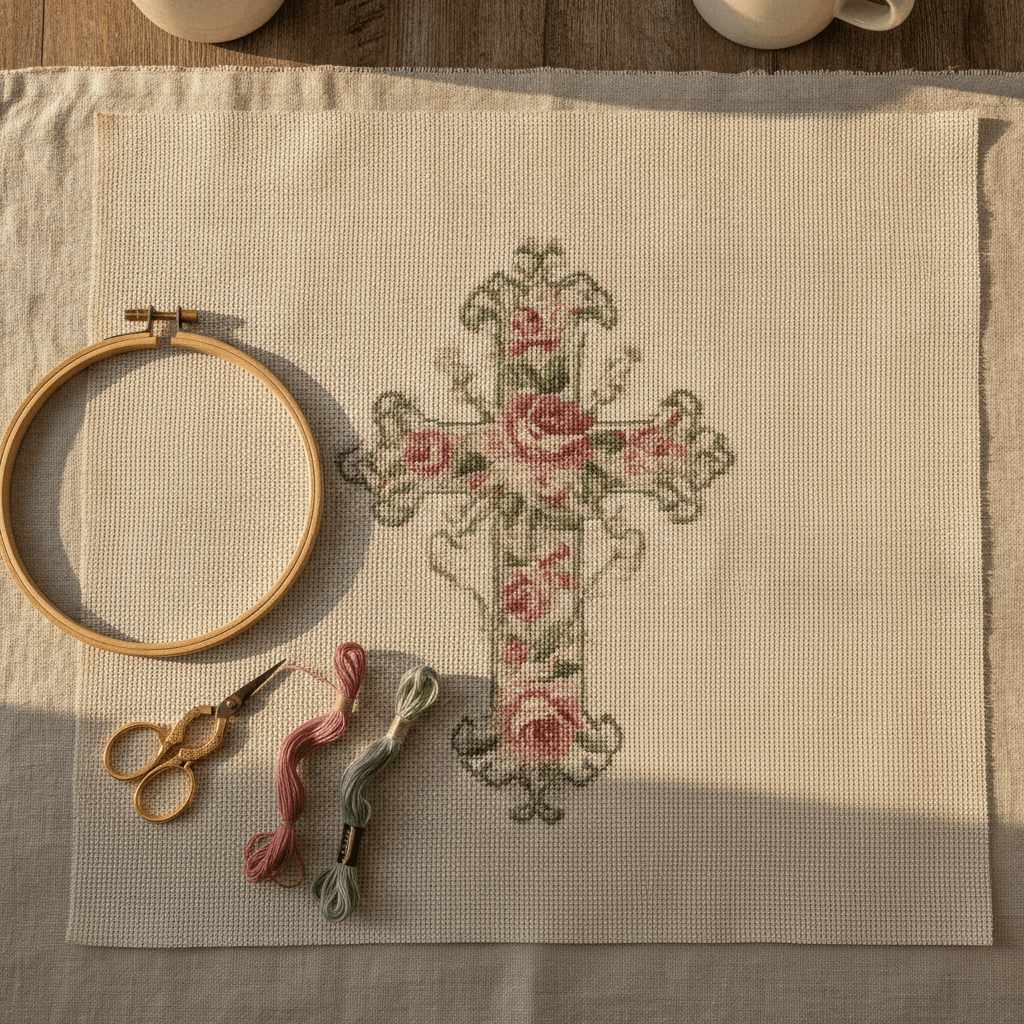
If you are still sorting out counts, strand numbers and which fabric to buy, the beginner guides cover that groundwork.
Fold, pinch, mark, start. Do it before you do anything else, while the fabric is still flat and clean and easy to handle, and the rest of the project stops being a guessing game.