How to Stop Aida Fabric from Fraying for Good
Raw aida edges shed the moment you start handling a project. Here are the five ways to seal them, which one is worth your time, and how much fabric to cut so it stops mattering.

Aida is woven to be stiff and countable, which is exactly what makes it friendly to stitch on and exactly why the cut edges come apart the second you start handling it. If you have ever pulled a project out of your bag and found a small nest of loose cotton in the bottom, you know the feeling.
The good news is that you can stop aida fabric from fraying in about ten minutes, once, before the first stitch goes in. The methods below are ranked by how much trouble they are actually worth.
Why the edges come apart
Aida is woven in little blocks, groups of threads bundled together with a visible hole at each corner. That grid is what makes counting easy. It also means the threads along a raw edge have nothing holding them in their bundle, so every time the fabric rubs against your hand, your hoop or the inside of a project bag, a few more work themselves loose.
Cheaper fabric sheds faster than Zweigart aida because the weave is looser to start with. Kit fabric is usually the worst of all, since it has often sat folded in a plastic sleeve for a year before it reached you.
The fixes, from quickest to most permanent
You do not need all of these. Pick one, do it before you hoop up, and forget about it.
Painter's tape, the thirty-second version
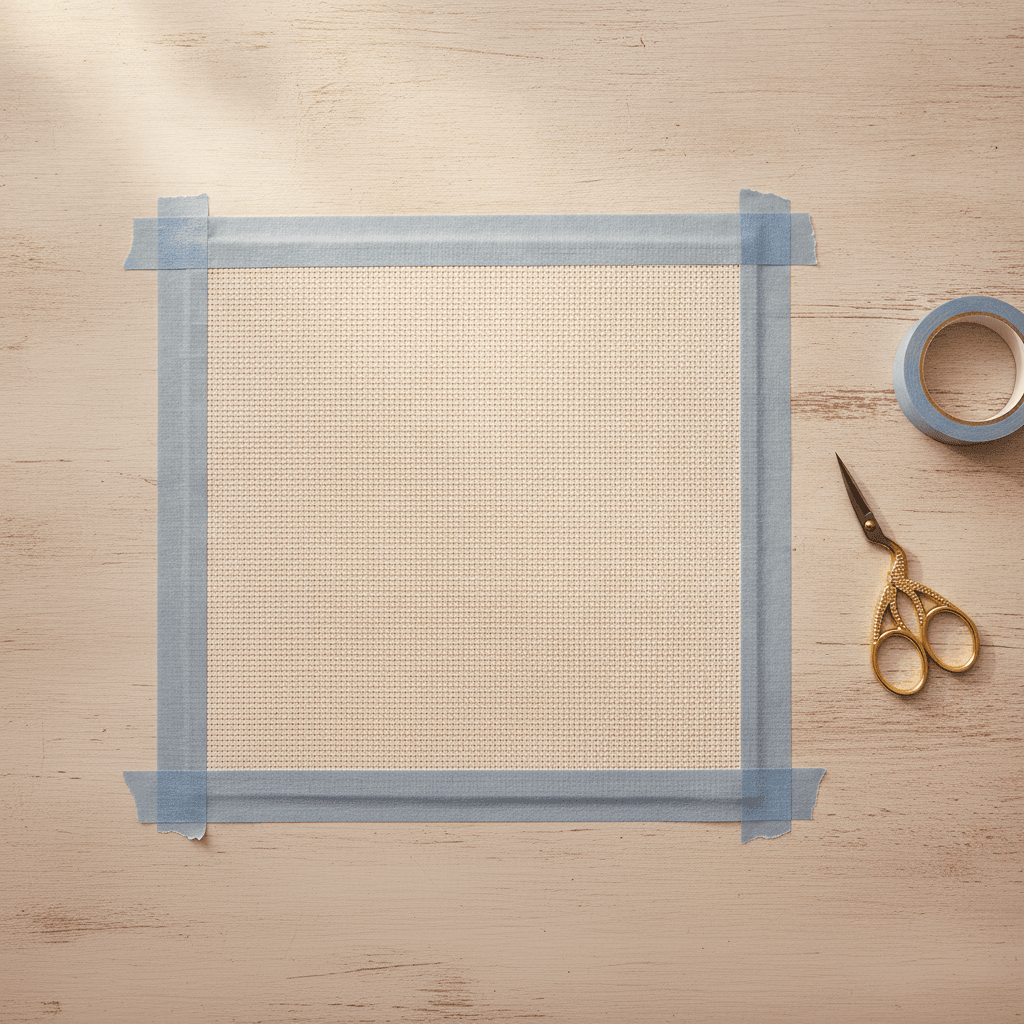
Run a strip of 1-inch blue painter's tape along each raw edge, folding half the width over to the back so the edge is sandwiched. Four sides takes under two minutes and it holds perfectly well for a small piece you will finish inside a month or two.
Two warnings. Ordinary beige masking tape is not the same product, and it will leave a sticky amber line on your fabric if the room gets warm or the project sits for a season. Tape also stiffens the edge, which makes the fabric slightly harder to pull taut in a hoop.
A zigzag on the sewing machine
If you own a machine, this is the one worth learning. Set a plain zigzag at roughly width 3, length 2, and run it about a quarter inch in from each raw edge. It never comes loose, it survives the wash at the end, and it adds no bulk to fight your hoop.
The obvious catch is that you have to own a machine and get it out to start a hand project, which most stitchers understandably do not want to do. But if it is already sitting in the corner of the room, this beats every other method on the list and I would not bother arguing the point.
Fray Check and fabric glue
Dritz Fray Check is a clear liquid you run along the raw edge. It soaks in, dries stiff, and locks the threads where they are. A small bottle costs around $5 and lasts for years.
It works. I still keep a bottle in my box, but I use it for repairs rather than prep, because it darkens pale fabric very slightly as it dries. On cream or white aida that faint shadow can show if your design sits close to the edge of the frame.
Overcasting by hand
No machine, no tape, no glue? Whip stitch around all four raw edges with ordinary sewing thread, catching about a quarter inch of fabric with each stitch. A fat quarter takes maybe fifteen minutes in front of the television. It is slow, it is quiet, and it is the only method here that costs nothing at all.
Pinking shears
Worth one honest sentence: pinking shears slow the fraying down, they do not stop it. Fine for a piece you will finish this week, not enough for anything that will live in a bag for six months.
Cut generously and half the problem disappears
Every method above buys you time. Cutting the right size buys you forgiveness.
Add 3 inches of margin on every side of the stitched area. That sounds excessive right up until you go to lace or frame the piece and find you need every bit of it. A design that finishes at 6 by 8 inches means cutting a piece 12 by 14.
My first real sampler was 12 by 16 on 14-count aida and I cut it with barely an inch to spare around the design. By the time I reached the border the left edge had shed so far inward that I had to baste the whole thing onto a scrap of muslin to get it into the frame. I have overcut every piece since.
If you are not sure what to cut, the fabric calculator does the arithmetic for you. Give it your stitch count and your fabric count and it returns the cut size with the margin already included.
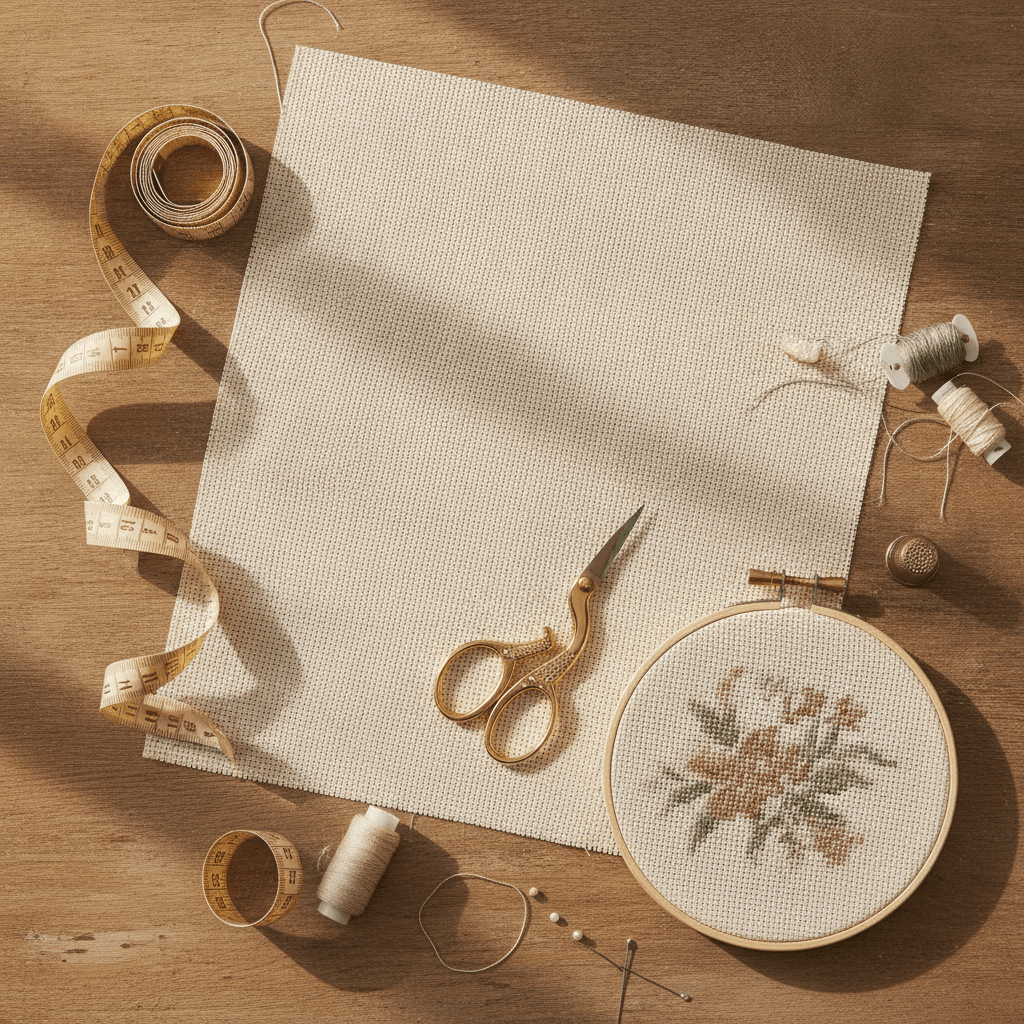
If the edge has already started to shed
Resist the urge to trim it back to something neat. Every trim costs you fabric you may want later, and the fresh cut will simply start fraying too.
Tape straight over the damage as it is, or run your zigzag a little further in, just inside the ragged part. If loose threads keep tangling with your working floss, snip only the ones that have already come completely free, and leave the rest alone.
Ten minutes now, none of the panic later
Whichever method you land on, the trick is doing it before the fabric goes into the hoop rather than after you notice the mess. Tape if you are starting tonight. Zigzag if the machine is already out.
If you are still putting your kit together, the beginner guides cover the rest of the setup, and there is more on handling and finishing over in techniques and tips.