How to Wash and Press a Finished Cross Stitch
Nobody teaches you how to wash cross stitch, so most of us guess. Here is the safe way to soak, rinse, dry and press a finished piece without bleeding colors or crushed stitches.
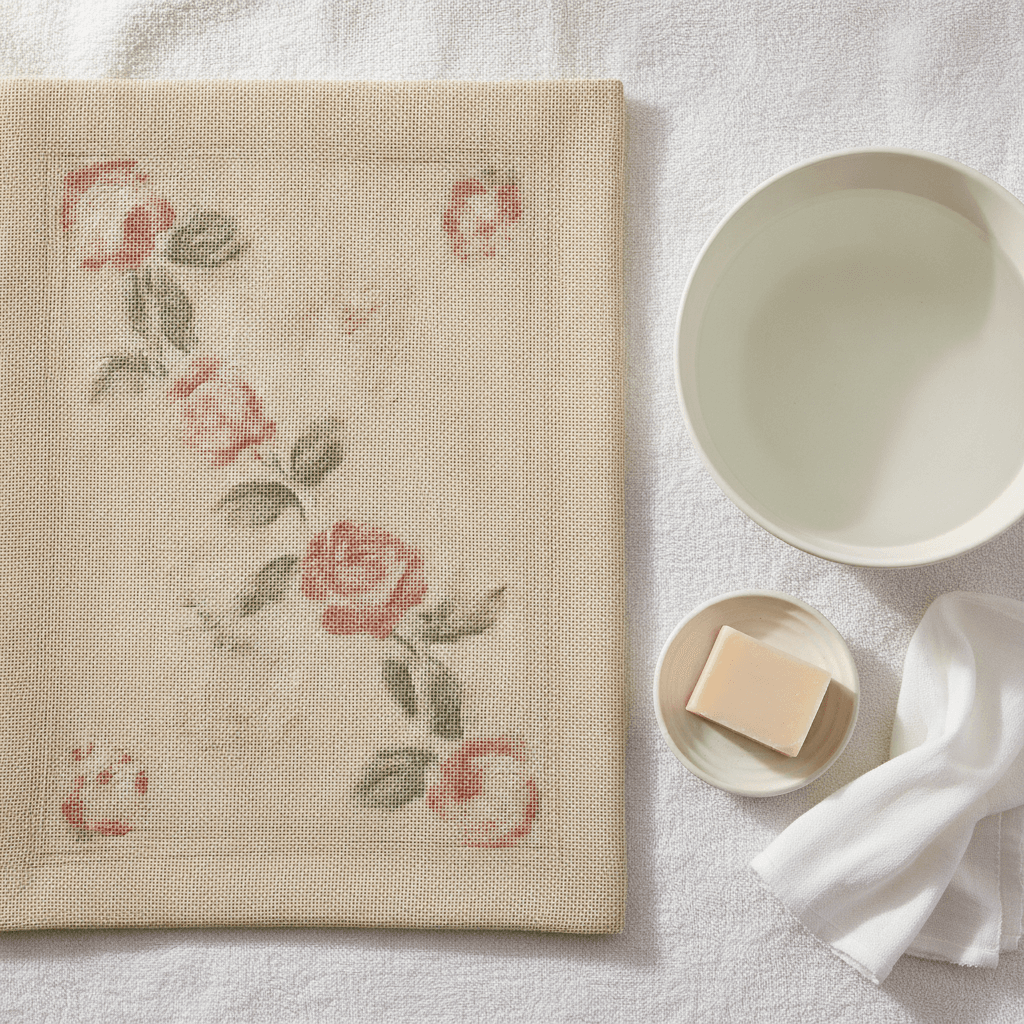
Nobody teaches you how to wash cross stitch. You finish the last stitch, you are proud of it, and the very next instinct is to put it straight in a frame. That instinct is the one to resist.
A finished piece has been in your hands for weeks. It has hand oils on it, a hoop ring pressed into the fabric, maybe a grid you drew in water-soluble pen and definitely more dust than you can see. None of that shows in a good lamp on a Tuesday night. All of it shows in five years, once the oils have oxidized into faint yellow shadows behind glass where nobody can reach them.
So washing is not about visible dirt. It is insurance. It also relaxes the fabric, evens out your stitches, and makes hoop creases disappear in a way that no amount of ironing will manage on its own. Here is the whole process, including the parts that go wrong.
Should you wash it at all?
Almost always, yes. Cotton floss on cotton or linen fabric handles a gentle soak easily, and the result is a flatter, brighter, softer piece.
There are real exceptions though, and they are worth checking before the fabric is wet, because there is no going back.
When to be careful or skip the water
Hand-dyed and overdyed floss is the big one. Small-batch dyers do not always set their colors the way DMC does, and a beautiful variegated red can run into cream aida in about four seconds. If the pattern used hand-dyed thread, test first or skip washing entirely.
Metallics, beads and embellishments each have their own risk. Some metallic braids tarnish, some painted or dyed beads lose their finish, and vintage buttons can rust. Wool and silk need a wool-specific wash and cool water, never the routine below at lukewarm.
And if anything has already been glued, mounted, or backed with paper, do not wash it. That decision was made at the finishing stage.
The two-minute colorfast test
Press a damp white paper towel or a scrap of white cotton firmly against the darkest and most saturated color in the piece, usually a red, a deep navy, or a black. Hold it for ten seconds and look. If any color transfers, do not soak the piece. Spot clean, or leave it alone and frame it as is.
Doing this test takes two minutes and it is the difference between a clean finished piece and a pink cloud around a heart that will never come out.
How to wash cross stitch, step by step
What you need
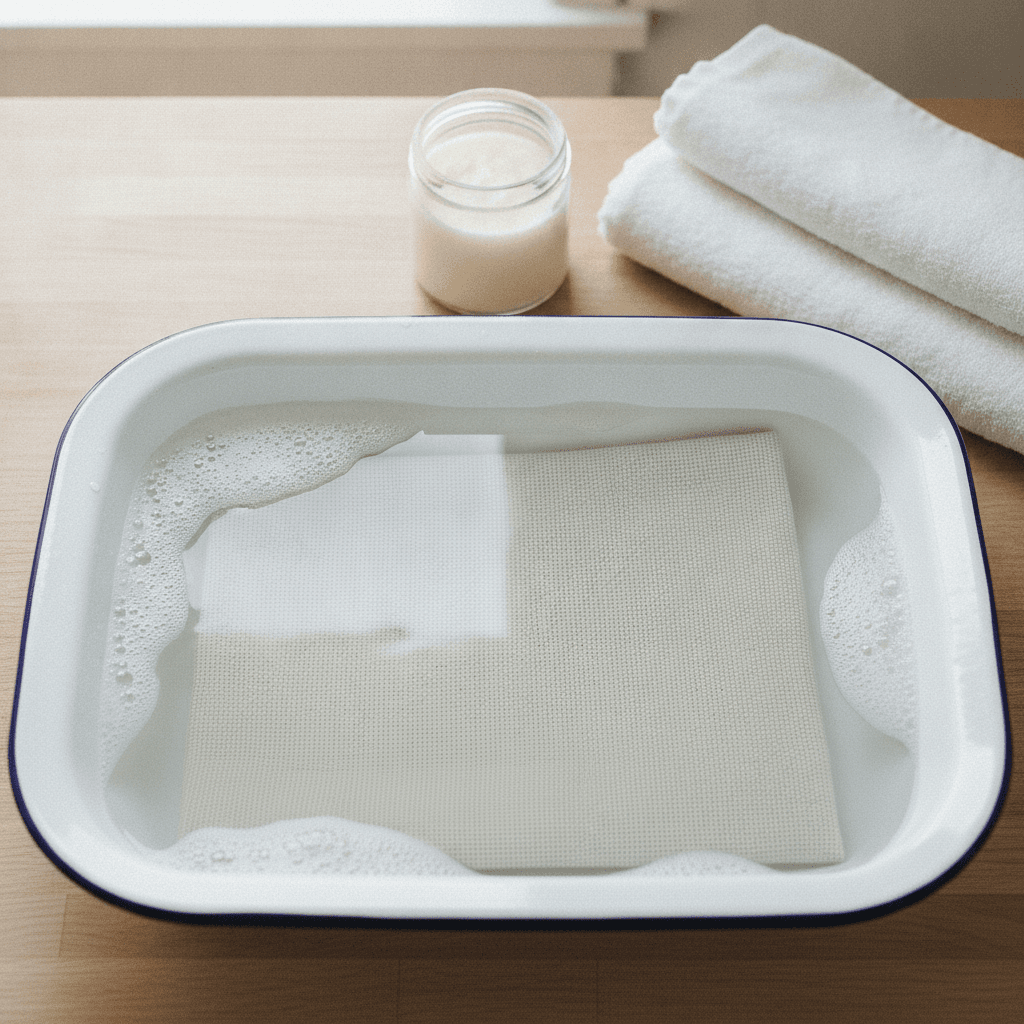
A clean basin or sink, scrubbed and rinsed first so there is no soap residue or dish grease waiting for your linen. Cool to lukewarm water, never hot: heat sets stains and encourages dye to move.
A gentle, pH-neutral soap. Orvus WA paste, the quilters' standard, is what most needleworkers use, and gentle wool washes work too. A clear, mild dish soap is fine in a pinch. What you want to avoid is anything with bleach, optical brighteners, lanolin, fabric softener, or the word "oxy" on the bottle. You need a few drops, not a capful.
Two or three clean white towels. White matters. A brand new dark blue towel is another way to dye your project.
The soak
Remove the piece from the hoop or frame first and check the back. Snip any long tails and make sure your starts and ends are secure. If the raw fabric edges are fraying badly, a line of zigzag stitching or a strip of masking tape along the edge keeps it from getting worse while wet.
Fill the basin with a few inches of cool water, add the soap, and swirl it to dissolve before the fabric goes anywhere near it. Then lay the piece in flat and let it sink on its own.
Now leave it alone for ten to fifteen minutes. That is the whole active technique. If it needs help, press gently with a flat palm to move water through the fabric. Then, and this is the part people get wrong:
“Never rub, never wring, never twist, and never scrub a finished piece. Water and time do the work, not friction.”
Rubbing fuzzes the floss and destroys the sheen that makes cross stitch look finished. Wringing distorts the fabric grid, and a distorted grid never quite squares up again.
Rinsing
Drain the basin, refill with clean cool water, press gently, and repeat until there is no trace of suds. Usually that is two to four changes of water. Leftover soap attracts dirt and yellows over time, so rinse longer than feels necessary.
To lift the piece out, support the whole thing with both hands or scoop it onto a flat plate. A soaked piece of linen is heavy, and lifting it by one corner is how the grain gets pulled crooked.
The problems that actually come up
Hoop marks and hard creases
Good news: this is the easiest one. A soak plus a proper press removes nearly every hoop ring and fold line, which is why washing is worth doing even on a piece that looks perfectly clean. Stubborn creases usually need a second dampening rather than more heat.
Red is bleeding into the fabric
Act immediately and do not let the piece dry, because drying sets it. Keep flushing with cool running water, lots of it, for as long as it takes. Cool, never warm. Most beginners panic and reach for hot water or soap, and both make it permanently worse.
DMC floss is rated colorfast and rarely does this. When it happens, the culprit is usually hand-dyed thread or an unbranded kit, which is exactly why the colorfast test earns its two minutes.
Water-soluble pen and pencil lines
Follow the pen manufacturer's instructions, because most of those markers need a plain cool water rinse with no soap first. Soap or heat applied to some of them sets the line for good. Ordinary pencil grid lines generally lift in the soak.
An old or yellowed piece
Age-yellowed cotton is a different project and I would treat it gently. Try a long soak in cool water with a mild soap and accept a partial improvement. Do not use chlorine bleach on anything you care about, and if it is an heirloom with unknown fibers, a textile conservator is genuinely worth the phone call.
Drying: flat, and never in a dryer
Lay the wet piece on a dry white towel, roll the towel up loosely like a jelly roll, and press along it with flat hands to pull out the bulk of the water. Do not squeeze the roll.
Unroll it, move the piece to a fresh dry towel, and lay it flat, face up, gently squared to the fabric grain. Nudge the edges straight with your fingers so the weave sits at right angles. This is the moment when a slightly skewed piece can be coaxed back into shape.
Leave it a few hours until it is barely damp, out of direct sunlight, which fades floss and yellows fabric faster than anything else in the room. No dryer, no hairdryer, no radiator.
How to press without crushing your stitches
The whole trick is one sentence: iron from the back, on a soft surface, never on the front. Everything else is detail.
Fold a clean white towel two or three times on your ironing board to make a padded surface. Lay the piece face down on it. The padding lets the raised stitches sink in instead of being flattened, which is the difference between a piece that looks handmade and a piece that looks steamrollered.
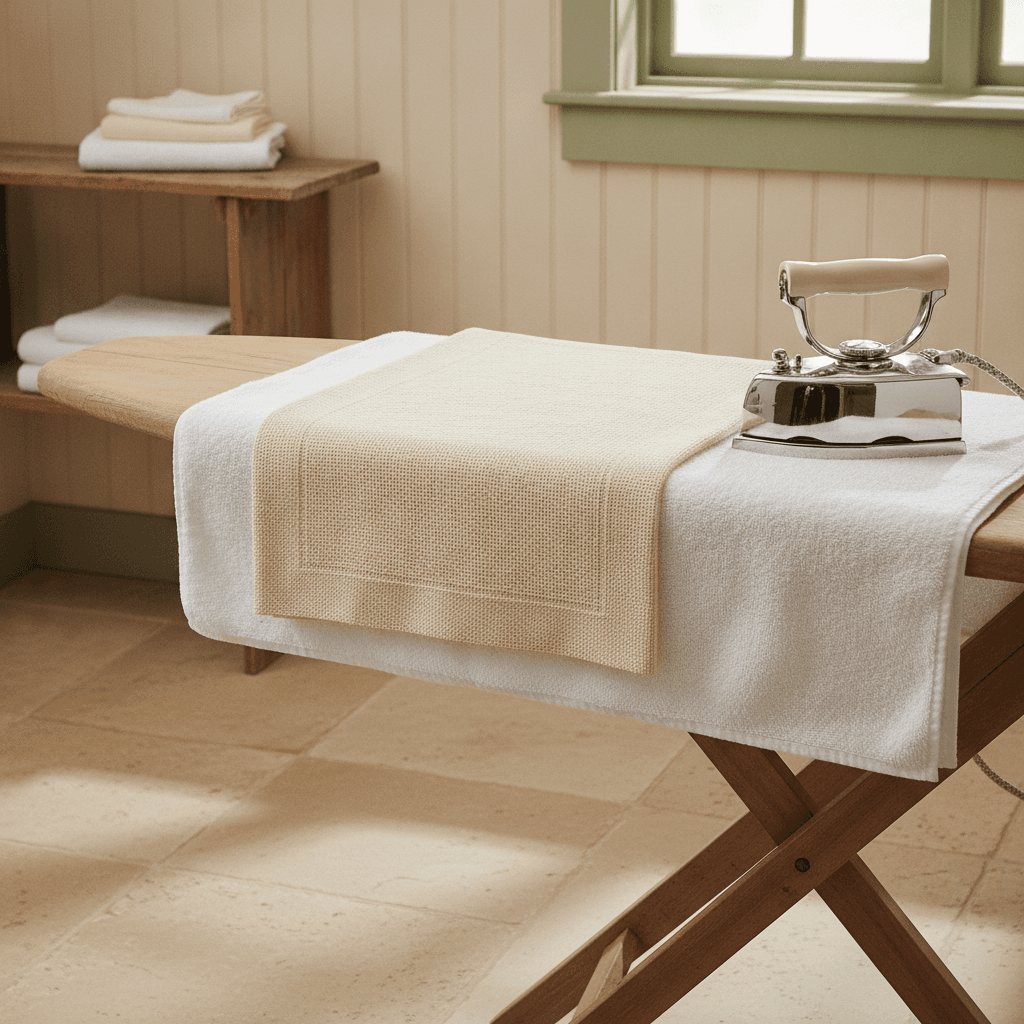
Set the iron to a medium heat that suits the fabric, cotton or linen setting for aida and linen, lower for anything with synthetic content. Press while the piece is still very slightly damp: that is when creases release most easily. Use a lift-and-press motion rather than dragging the iron across, which can distort the weave.
Skip the starch. It stiffens the fabric, attracts dust, and can yellow. If there are beads or metallics, press only the areas around them with the tip of the iron and keep steam away from them. And check the back once more before you stop, since a stray dark tail lying across a pale area will shadow through once the piece is stretched over a white mount.
If tension and evenness are the part you are still fighting, that starts long before the wash, and the techniques and tips archive covers it from the stitching side.
Before it goes in the frame
Let the piece rest a full day after pressing so it is completely dry. Framing anything even faintly damp behind glass is how mildew starts.
Then check you have enough fabric left to work with. Lacing a piece over foam board or acid-free board wants a decent border on every side, and if you are not sure whether your margins are enough, the fabric calculator will tell you what the piece needed in the first place. Use acid-free mounting materials, never glue the fabric down, and keep the glass from resting directly on the stitches by using a mat or spacers.
Keeping it clean once it is on the wall
Hang it away from direct sun, away from the kitchen, and away from bathroom humidity. Dust the glass, and for an unframed hoop, a soft makeup brush once in a while is enough. A properly washed and framed piece should not need washing again for years, which is the entire point of doing it carefully now.
That is it. Half an hour of care, mostly spent waiting, and the thing you spent forty hours on will still look like this in twenty years. If you are just getting started and this all sounds like a lot, the beginner guides are the gentler place to begin, and you can come back here on the happy day you have something finished to wash.