What Size Hoop Do You Need for Your Cross Stitch?
A hoop that is slightly too small will crease your work and slip all afternoon. Here is how to pick the right one before you cut your fabric.
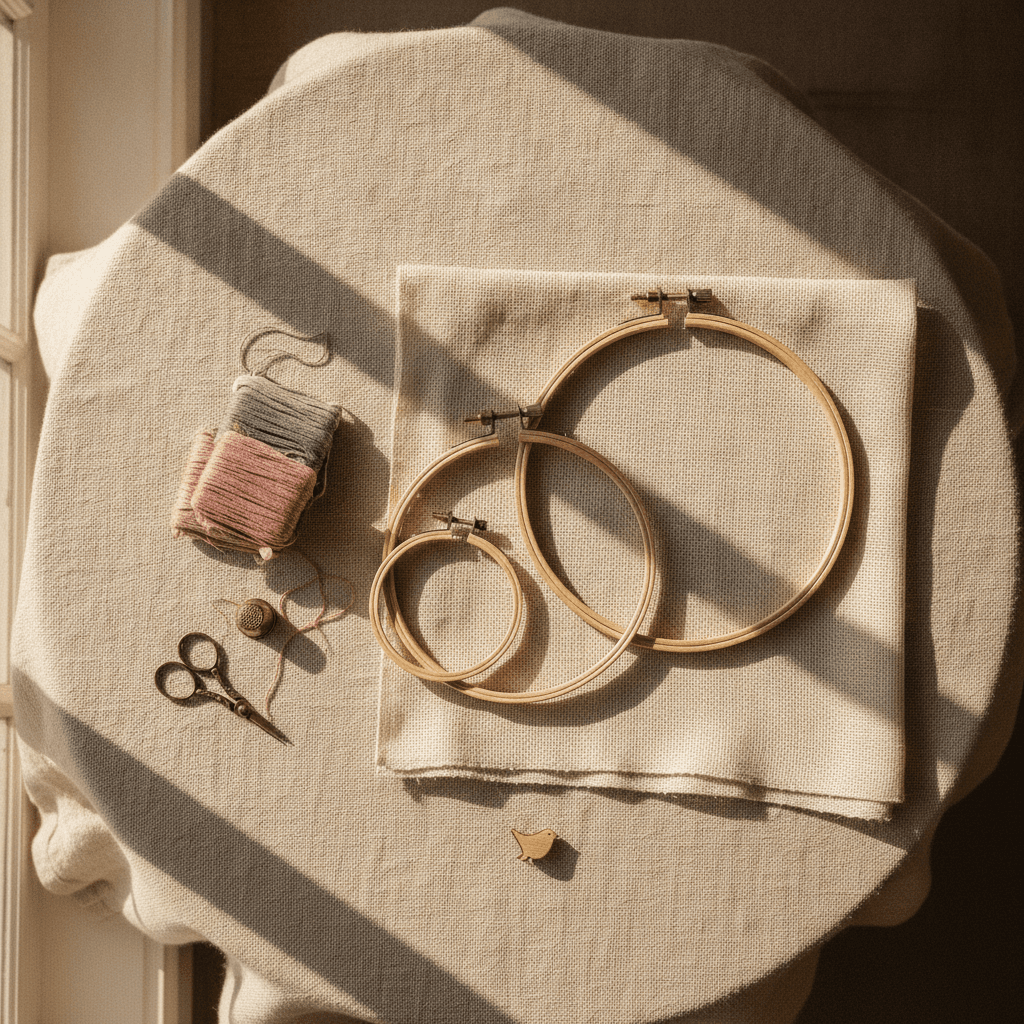
Hoops look like the simplest thing in the whole craft. Two rings, a screw, done. Then you open a pattern that finishes at 9 by 12 inches, and you realize the 6-inch hoop in your basket is going to spend the next three months parked in the middle of the design. Working out what size hoop for cross stitch you actually need takes about two minutes, and it saves you from pressing a permanent ring into something you have poured forty hours into.
This is the whole decision: measure the stitched area, leave yourself enough spare fabric, then choose a hoop that lets you work a comfortable patch at a time without strangling the piece.
Start with the design, not the fabric
The number that matters is the finished size of the stitched area, not the size of the fabric you cut. Patterns give you a stitch count, usually something like 98 by 126. Divide each figure by your fabric count and you have the finished dimensions. That 98 by 126 chart works out to exactly 7 by 9 inches on 14-count aida, and to 5.4 by 7 inches on 18-count. Same chart, very different hoop.
If you would rather not do the arithmetic every time, the fabric calculator does it for you and adds the margin at the same time.
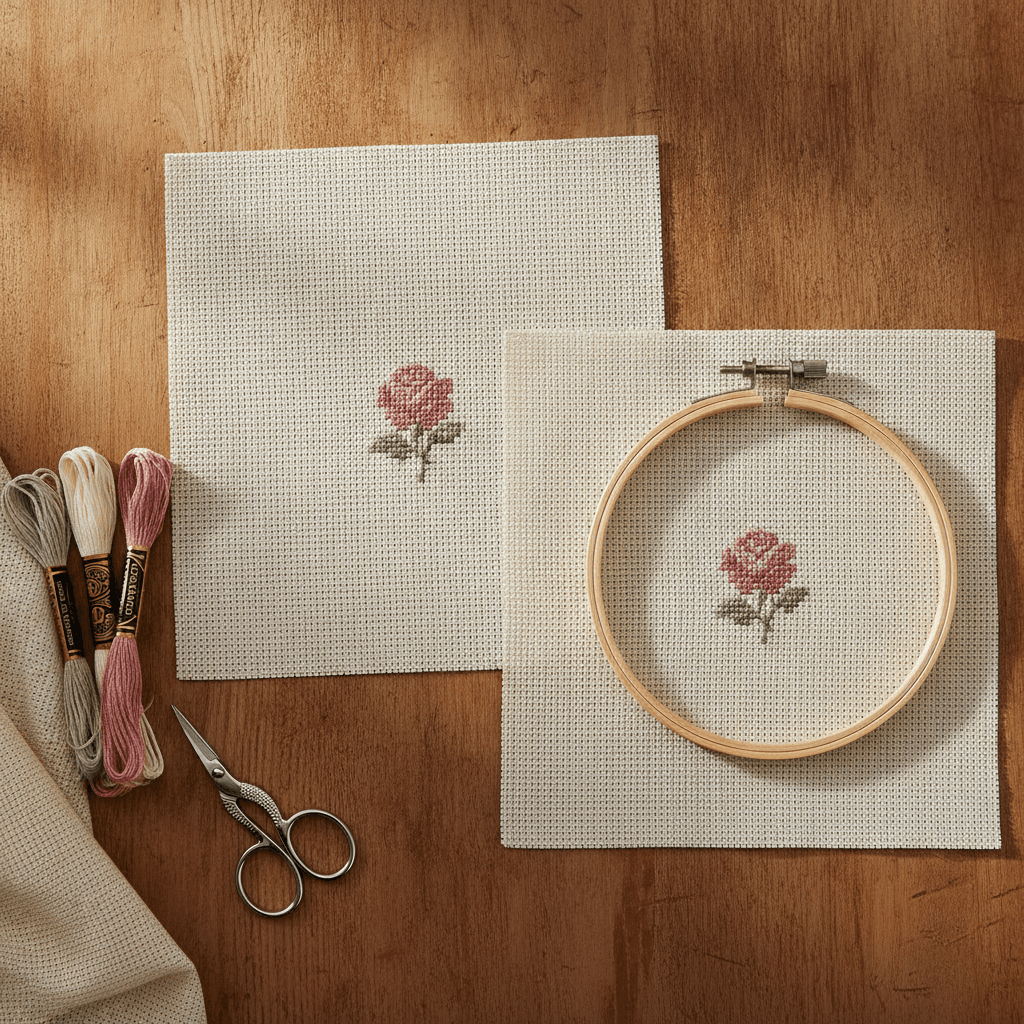
Speaking of margin: cut your fabric with at least 3 inches of spare on every side. Three inches gives your hoop something to grip, gives a framer something to staple, and gives you room to be slightly wrong about where you started. Two inches is the absolute floor and you will regret it at the edges.
The rule I use for picking the ring
A hoop does not need to swallow the entire design. It needs to hold one workable patch at a decent tension, and it needs enough bare fabric around the outer ring to stay put.
So: pick a hoop whose inner ring is roughly an inch wider than the patch you want to stitch at once, and make sure at least an inch of fabric sticks out past the outer ring on all four sides. A 6-inch hoop gives you a stitchable window of about 4.5 inches once you account for the ring itself and the fabric your hand covers.
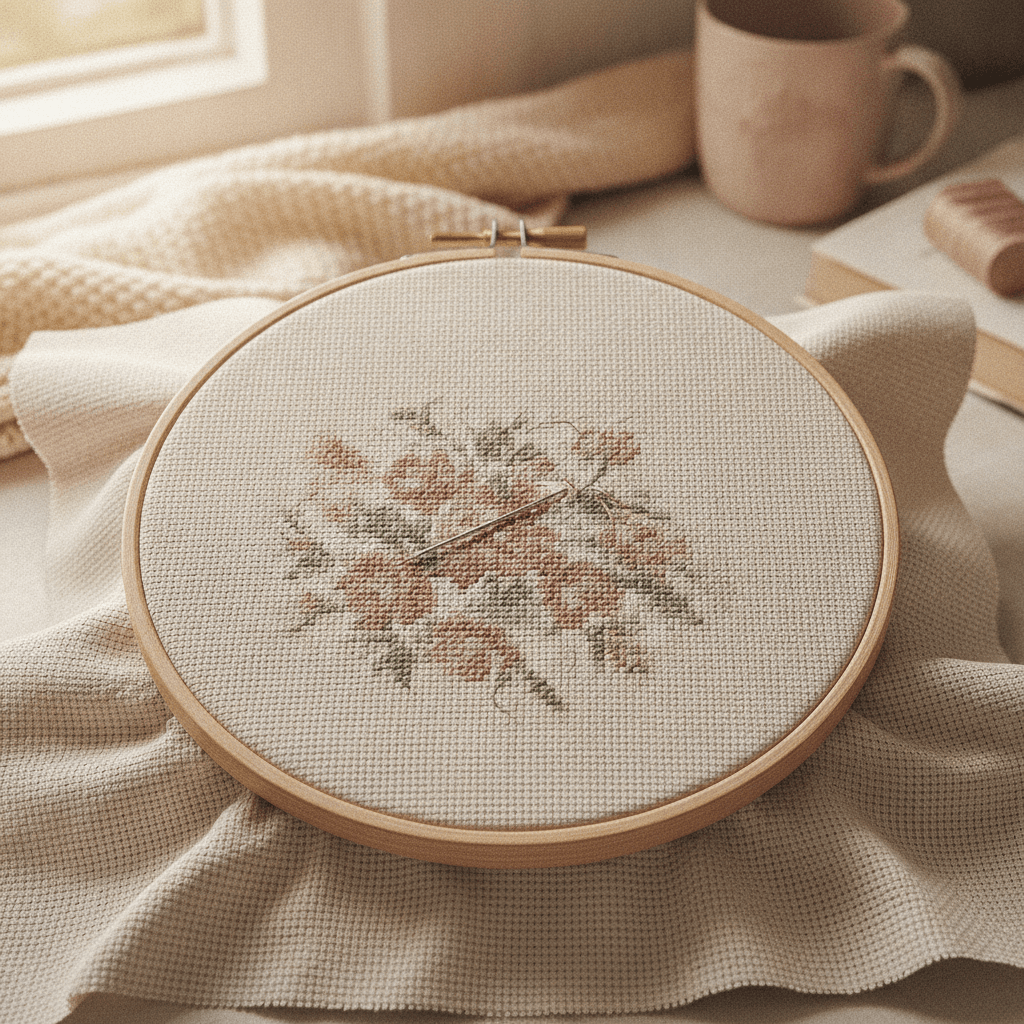
Hoop sizes you will actually reach for
4 and 5 inch
Ornaments, tiny alphabet samplers, a single motif, and finishing work on a corner you already stitched. A 4-inch hoop is light enough to hold for an hour without your wrist complaining. It is also the size I keep for anything I plan to leave in the hoop as the finished frame.
6 and 7 inch
This is where most stitching happens, and if you own exactly one hoop, make it a 6-inch. It covers small and medium designs outright, it balances nicely in one hand, and it does not tip forward under its own weight the way a big hoop does.
8 inch and up
Bigger hoops mean fewer repositions, which sounds like a clear win until you hold one. An 8-inch wooden hoop with a design in it gets heavy, and the wider the ring, the harder it is to keep tension even all the way around. Past 10 inches I stop bothering with hoops altogether.
When the design is bigger than any hoop you own
Most of the time, it will be. A 9 by 12 inch finished piece does not fit in anything reasonable, so you stitch it in sections and move the hoop as you go.
That is fine. Two things make it painless. First, work outward from roughly the center, which the pattern's center arrows already point you to, so the hoop keeps landing on fabric you have not stitched yet. Second, loosen the screw and lift the hoop off whenever you put the project down, rather than sliding it while it is still tight.
I stitched a 10 by 14 inch garden sampler in a 5-inch hoop for four months because it was the only one I had. There is still a faint screw print in the bottom left of the sky, two years and three washes later. A $12 hoop would have fixed it.
Wood, plastic, or a Q-snap
Here is my honest opinion, and plenty of stitchers disagree. For anything under about 8 inches, a decent beechwood hoop wins on feel and on looks, and Nurge hoops hold tension better than the cheap craft-store ones for around $12. Above 8 inches, I would rather use a Q-snap than the prettiest wooden hoop in the shop. The plastic clamps grip evenly across a whole side instead of pinching at one screw, and nothing slackens halfway through an evening.
The tradeoff is real, though. Q-snaps are bulky, they do not sit comfortably in your palm, they look like plumbing in photos, and they leave their own creases if you clamp them over stitched areas and walk away. They solve the tension problem, not the crease problem.
Binding the inner ring of a wooden hoop with a strip of cotton twill tape helps a lot with slipping, and takes about ten minutes. Worth doing on the hoop you use most.
The habit that keeps hoop marks out of your fabric
Take the work out of the hoop every time you stop stitching. Not at the end of the project, not at the end of the week. Every time.
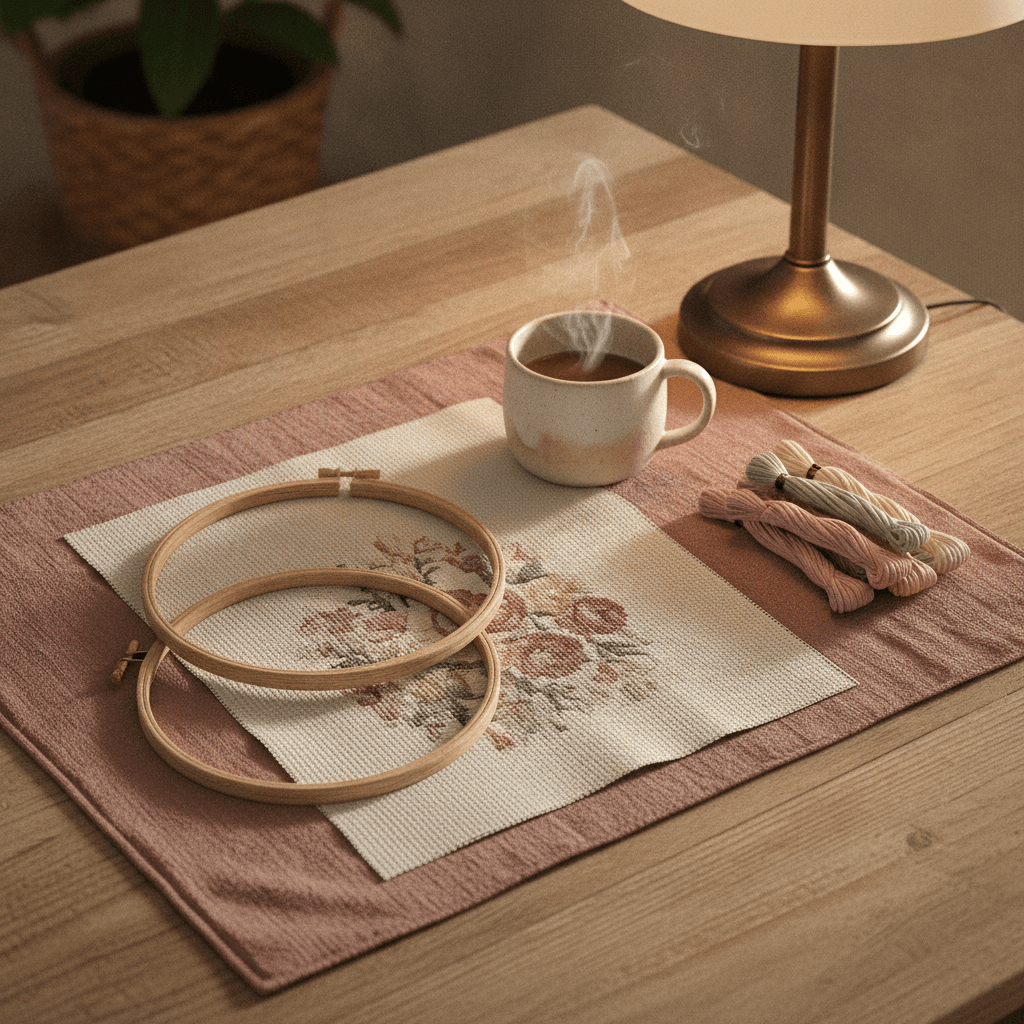
Fabric under tension for days takes a set, and aida holds a crease more stubbornly than linen does. Most marks do lift out in a gentle wash, so a ring in your fabric is not a disaster, but the ones that have been there for months can stay faintly visible even after pressing. If you are new to all of this, the beginner guides cover the basics of setting up a first project, and there is more on tension and finishing in techniques and tips.
So: measure the design, add three inches all round, buy a 6-inch hoop, and take it off at night. That covers almost every project you will ever start.